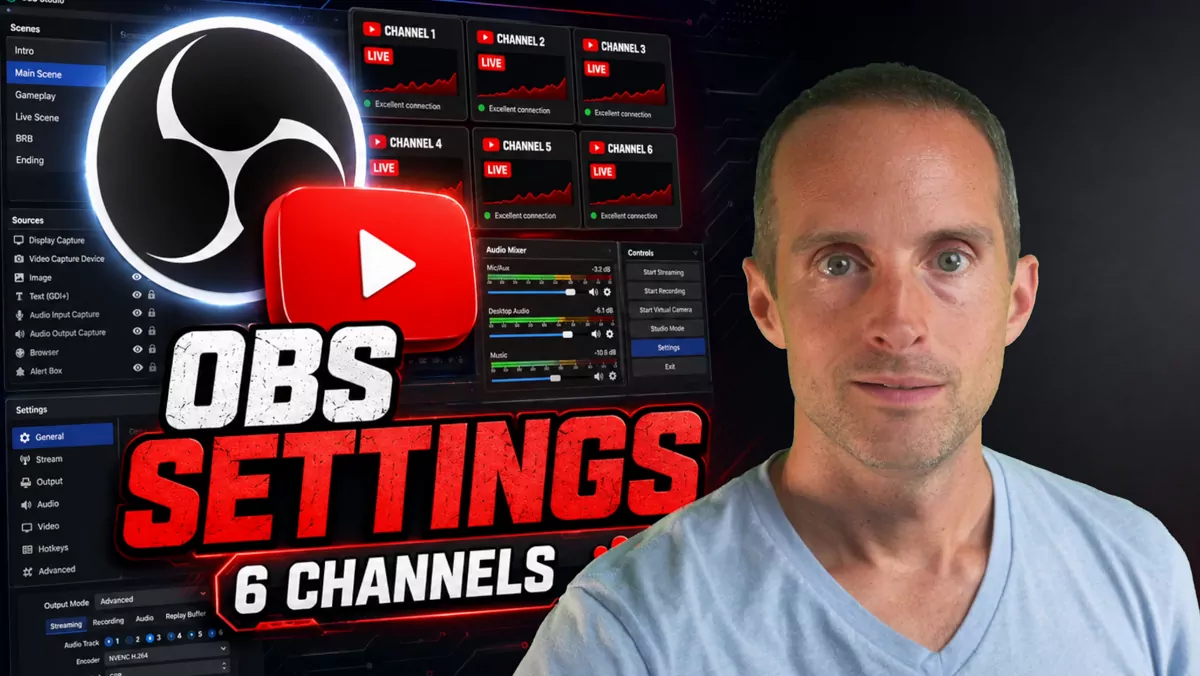
How I Lay Out OBS for Recording and Streaming
You're about to experience my OBS settings that I use to film six YouTube videos a day and that I live stream with directly in OBS without having to use any third party plugins. This is a follow up to my videos that I went over and showed you my equipment gear list and showing you my studio setup. This video will give you the final piece and show you actually how I use put everything together. So I'm actually recording this video in OBS right now. And you do need to watch the video where I showed you my Elgato Stream Deck and how I switch all the scenes beforehand to really understand this.
If you want the full picture, I cover gear, studio, and workflow across my my YouTube Coaching playlist.
So first of all, I have my OBS laid out here so that this monitor is actually bigger than my other one. So I would make this thing bigger. That's what she said. I would make this thing bigger on the other monitor, but on this one. So you can zoom it in. And so this is what it looks like on the other monitor there. So that's on the other monitors, just smaller. So I've got it set up so that I can have a nice full size picture of myself to see clearly. And then I have only the essentials. I've hidden everything else. So I have the desktop audio if it's on or the Elgato Cam Link 4K or the 4KX if it's on.
Then I have the microphone audio on the left. So I have the audio. Mixer right here on each of these. I have filters on.
Setting Up the Audio Mixer and Filters
I have a limiter on each one of these so that you don't hear any of those like clips or clicks or any of that stuff. You don't want that. And then one of the things you need to do also is look, I have the microphone RODECaster Duo in here, but you need to check the advanced audio settings as well.
The Clap Test and Audio Sync Offset
And you can find that in options, advanced audio properties. I do a clap test. And the clap test shows that, a 75 millisecond offset between my camera and the microphone is about just right so that the, the lips and like claps and stuff are in sync with the rendering on the computer. So you need to test this with a clap test and get the sync offset put exactly right so that the, the sounds that you're making on the mic perfectly line up with the video because by default they do not normally. If getting your own audio and video perfectly in sync is where you keep getting stuck, you can book a private call with me and we'll run the clap test on your setup together.
Using Profiles for Each YouTube Channel
If I click start streaming, what I've got here is I have five different profiles. Now I can't click on profiles while I'm recording because it's using one. But what I do is I create profiles here on the upper left. I create the profiles and then I use each different profile has its own live streaming settings. That way I just picked the YouTube channel that I want to stream to. Like you'll notice on the upper left, it says profile gaming right now. So if I click start streaming, that would immediately put my video live out to my Jerry Banfield gaming channel, which is at Jerry Banfield games.
Then I just switched profile when I want to stream to a different channel. I streamed to like five or six of my YouTube channels other day all at once just to test it out and it worked great. The button down here, start virtual camera. I used to use that before I had a second webcam, but now I've got a second webcam on zoom so that I don't have to start virtual camera. But if you need OBS feed and another programming start virtual camera, I, I don't use studio mode. I don't need a preview and a transition and all that stuff because I'm just recording straight off the cuff here.
Streaming to several channels at once fits right into the system I describe in After 10,000 Videos, This Is My Simple YouTube Growth Formula.
Then in the settings, I'll show you my settings. It took a bit of research and playing around to get this just right, but I've got most of the settings just pretty standard on here. Then when appearance got that pretty standard, then on stream, I got my stream key here so I don't sign into YouTube because I don't want it to pop up the chat.
Stream Key Settings Instead of Signing In
So I just put the stream key in directly to the YouTube server. I use custom. A YouTube URL. Then I put my stream key and so I don't have to deal with it. Every time I switch profiles has signed into a different YouTube channel and all that's just too much of a pain. So I just use the stream key with that.
My Output Settings for Live Streaming
Then on the output, here's my output settings. This took a significant amount of research and testing, but for YouTube, but right now I stream at 1440 P as I'll show you in the video. So I do 2560 by 1440 P because that's the exact size my monitors at. Then I have 60 frames a second on here, by the way, if you need any, any help with OBS, I'm a wizard with OBS. You're a wizard, Harry. Joe Parys pops in and it's like OBS tech support every time he's like, now, why is this happening? And I can consistently figure it out. I will help you. I've just used OBS for like a decade and I've done so many live streams and recorded so many videos played around so much. If you want that help directly, you can set up a call with me and we'll screen share your OBS and dial in your recording and streaming settings together.
I just intuitively know it. So I've got my base canvas resolution at 2560 by 1440 P. Which gives me a nice resolution on YouTube, especially when people are watching on 4k TVs. This gives me like a 40 higher, more, more pixels are approximately than using like 1920 by 1080. So it looks a lot better. I don't downscale it either. Then I have 60 FPS on it. Audio settings are pretty straightforward. I just put my road caster, dual mic in there. Don't use anything else. Don't use anything on hotkeys. Cause I have an Elgato stream deck on advanced. I do put the process priority above normal.
And scroll down here and I've got automatically reconnect browser source hardware. But other than that, nothing interesting where a lot of the work is, is figuring out the output. I have a new graphics card. If I could remember it off the top of my head, I'd let you know. But I think I showed that in my equipment set up, at least it's in the PC that I talked about, but the video encoders, NVIDIA, NVAC. I think I have a 50 80 is what I have a NVIDIA 50 80, I believe. So NVIDIA NVAC HVAC is the video encoder I use. And then I use rate control for YouTube streaming, a constant bit rate of 30 K.
I guess 30 mega bits would be most appropriate. I have a one gig up and down. So I, the 30 makes the picture look absolutely beautiful on YouTube. And if you're going to stream 1440 P 30 K bit rate is recommended really. It should be 30 megabits, not 30 K. So 30 megabits keyframe interval to a preset S low. So it's good quality. Then I put the tuning on high quality multi pass. I put it in full resolution, main look ahead, and then this stuff. So I went back and forth over the years, researching this, talking with AI about it. This seems to work really well to give me a really nice looking live stream.
Your bit rate is one of the things, if you're, especially if you're playing like video games or something that have a lot of movement and a lot of pixels, the bit rate, you'll look at like my stream at 30 K versus, when I used to stream it like six, it looked like garbage. It's six. When the game moved a lot versus 30, it looked gorgeous.
My Recording Output and Constant QP
Now for recording, I use the Marcosa video dot MKV, but then I remux it to an MP4. And I think that, yeah, so I've got checked in advanced settings, automatically remux to MP4. So what this does, and when it records in dot MKV, it records it in a dot MKV. That way, if the power cuts out, I still have everything I'd previously recorded is sitting there in an MKV. Whereas, if I record an MP4, I could lose the whole pile file. If it goes out, I use a video coder, NVIDIA NVEC H264, because that's the most widely compatible with like video editing software. YouTube is a format that's accepted everywhere.
I have a separate drive where I put all the recordings, not a separate drive, but it's just a folder in my hard drive. Then I leave the audio encoder where it is. I don't rescale output or I put any custom settings in. Now, one of the important settings on here though, is the rate control. So I locked the rate control in at, at a constant QP. Constant QP is a really nice feature they've added somewhat recently that allows me, like if, if nothing's moving on my screen, then it will record at a lower bit rate or like for just a talking head video, if I don't move my head too much, the bit rate will drop.
But if I start playing a game and all the pixels just roll, then it'll go up to like 80, plus megabits a second. So that higher than the 30, on the constant. So what this does, is the constant QP aims for a constant quality. And then it dynamically adjusts based on how much the pixels are moving. So right here, this is actually using more because I've got my head stretched over here like this. And that means the quality is, it doesn't have to do as much. But then when I change it here, and I got more pixels moving, then the bit rate shoots up to like 59.
If I really get moving all over the place, and all these are going, I can get it up to like 70, 75 megabytes a second, megabits a second, technically. So I set it at 18. That gives me a nice combination of file size and quality. And that leaves my videos. I try to keep most of my videos less than 10 minutes. So like the last one I did was a Minecraft video. It was nine minutes, 53 seconds with me talking head over Minecraft footage. So the pixels are constantly moving. And that came out to about five gigabytes, which to me at a 1440p comes out just nice.
Keeping videos short ties directly into the habit I explain in One Video a Day: The Simple YouTube Strategy Nobody Wants to Hear.
The average bit rate on it was 67 megabits a second. So that's a really nice looking video. So that's why I've got it set like this keyframe two, same presets that I used before. And that's the OBS settings for recording. I got audio. I don't use a replay buffer. When I used to be on Call of Duty Warzone, and people would stream snipe me, I would, I would put a delay on for, different periods of time. So people couldn't jump in my game. Cause God, that was annoying. So I'd enable a stream delay. So if you want a stream delay, in case you get really nuts and you need to cut it off or something crazy happens, you can just cut the stream off.
And because you have the delay, it'll stop it much earlier. Especially if you like, panic ended on YouTube immediately, you can use a stream delay there. And I don't use, you could put the process priority higher. I don't usually use that. If you have HDR, you need to fool around with the color space on here. But I tried, I have an HDR monitor, but OBS does not do that good with HDR color. It doesn't put all the correct things you need in a video. So I'm just recording in standard until OBS upgrades to the point where it easily includes all the HDR color data for YouTube.
Because what I, what I was doing, I tried experimenting with HDR and adjusting the SDR white and the HDR nominal peak levels, and adjusting the color format and putting it in color range full and putting it in the color format and color space for HDR. But then the videos were coming out looking like crap on YouTube. They're looking like crap in my video editing software. And yet with HDR, it's really all or nothing. Like you need to either have all the HDR stuff tagged correctly. So it gets recognized and some of the new cameras, like iPhones, they do that. And the beautiful HDR videos, like they've got all that stuff set up, but OBS does not work.
It does not work for that right now. So I just don't bother with it. I will, once it comes out and anything else I need to cover in here, each also on each profile, not only is the stream different, but the output is different. Oh God, I need to go over all my scenes and sources too. So the output and the stream are different on every single profile. So what I figured out after I did all this shit manually, the second or third profile, I realized you could just duplicate a profile and put all your exact same settings out there instead of having to do it again, which was nice.
How I Organize My Scenes and Sources
So now I'll show you how I've got my scenes and sources set up. So what you want to do for OBS is you want to have, for the stream deck, you want to use different scenes. Like I just push a button on stream deck and you notice now it moved me to center. I push a button and it moved it to left. And then I have other sources, like I can push a button and it'll go to gameplay. I can push a button and it'll go right small, push a button right background, center background. And now each of these allows you to play around with the source.
So for example, you noticed my center background is not sized quite the same as my right background. My right background is zoomed in a little more slightly and the left background is zoomed in even more. So each one of these, so sources are raw material. So like, for example, my Samsung Odyssey monitor is my raw material that when I'm on right, center, left, it's on all of these. And technically it is underneath the background. So whatever's on top, he's on top, whatever's on top, I'll wait a minute. So whatever's on top, like my Elgato Cam Link 4K, if that's on top, then I have a green screen chroma key on that.
So if I click filters, I have a color correction, which is just pretty much straight default. Then I have a chroma key, which is pretty much straight default. Like if you have your lighting and you're, a straight chroma key, like background, not curtains, but just a pull up green screen, like I have, or a painted wall or something, really just the, default settings on these work just fine. Like you can see here, if I I'm on filters on Cam Link, then I turn off the chroma key, green, turn the chroma key back on. There it is. So I got the chroma key set up and the chroma key plus the monitor and having it set up like this allows me to point to whatever specific thing I want to point to on here, which is ideal.
So the, the first source, like if you're a green screen, you're probably going to want your Cam Link or to be on top. Then I have this old number here, which I added and used before. I might use that later, but I tried to use it. So I'm going to use it. Try and keep my sources neat and cut out ones I don't use. Then I have the background here. So if you, you can turn off individual sources, but that tends to be inefficient. Trying to use everything in a single scene gets sloppy. It's much easier to just change the scenes around. So I have these same basic sources in these scenes here, as you can observe on the upper left.
But then like when I bring in, the right Elgato 4k, there's no signal on it. And I turned to the Cam Link back on. And if you adjust, if you turn a source on and off, it only works for a specific scene. And that's why, especially if like, for example, I have my three basic scenarios are one recording the desktop, two having a background, three having a game on Xbox Series X or PS5. So given that I have three different basic sets of scenes, and then each of these scenes has my face in a different position on it. And this one is also a small option, then each one different position.
So I can change each source around. I can, hide certain sources or stretch or transform different sources inside each scene. Then I have a gameplay scene and a zoom recording scene as well. If you try and just use sources and turn sources on and off, that can get pretty annoying because it's, it's much easier to do scenes. Like if I tried to turn the background on and off in the scene, I would have to turn the same scene. Then it only work in one scene. For example, if I have a scene where I'm on the right side and I were to just manually go in and try and turn the background off or use a button in OBS, then that slows everything down so much.
And then if I want to move my face, that's a different issue. So then I'd have to have sources set up for all my different face shots like this. So it's, it's easier to use scenes and then you can just turn, turn away from sources. I also don't use any transitions, transitions that aren't like, look like, crap. I actually have my OBS stats off to the left here. So I have my OBS stats. I put them on another monitor. I mainly watch that isn't missing frames or skipping frames. That's a huge issue if it is. And the average time to render a frame should be like one millisecond or half a millisecond CPU usage, generally about 7%.
And then, disk space available. I got, 600 gigabytes. So that looks good. I really should have bought the four terabyte instead of the two, but, maybe we'll get that there. So I have the, that the stats is unplugged off the dock over there. I have a ATM multi stream in, but the problem was you had to have that activated and profiles work better. I don't use scene transitions because they look like garbage. Like just move me around. You don't need scene transitions. You can take the docks off and I have full height docks checked too. If you want to make, if you're really happy with where your docks are, you can hit lock docks.
And I realized I, I should have them. And that way I can't accidentally stretch or move around the docks I already have. So these are all, I don't have to do that. I can just, all the, these are my settings in OBS. This is how I have everything laid out. If you have questions post on the YouTube video, I'll be happy to answer. Schedule a Zoom call, screen share your OBS, and we can go all through everything for you.